The average nail salon owner makes $40,000 to $75,000 a year. You can maximize those profits by having the most up-to-date pedicure tools. Whether you are a salon owner, partner, or just a customer wanting to put your best foot forward, the guide below will give you the best tools used at a professional nail salon.
We cover everything from your basic nail clippers, down to special French pedicure tools. Keep reading below for twenty pedicure tools for that nail salon-quality pedicure.
Getting the Perfect Pedicure Every Time
Before we dive into the 20 essential pedicure tools below, it’s important to note that many of these tools are multi-functional and will be used repeatedly across different parts of your pedicure.
It is beneficial to think of the pedicure in three parts; the preparation, the process, and the post-pedicure treatment.
Preparation is all about getting your feet primed for the pedicure. This involves plenty of exfoliation and cleaning.
The process is more like art, and it’s mainly about shaping the nails and deciding if you want a regular pedicure, acrylic nail, gel nail, or french pedicure. Then comes the fun part of actually painting your nails during the process.
After you’re done getting a pedicure, it’s important to have some tools to upkeep your results. If not, your feet may revert to their dry, callused, aching state pretty quickly. Post-pedicure care is almost like a skincare routine for your feet!
Now let’s dive into how to prep, process, and polish using the twenty tools below!
Nail Clipper
The essential nail care tool is of course a nail clipper. For a professional pedicure, make sure to find a stainless steel nail clipper. These are medical grade and don’t have any cheap metals like aluminum.
Also, make sure to find a nail clipper with sharp clip ends. A dull nail clipper will damage and break your nails, not to mention, be painful to clip with. The best way to gauge if you need a new nail clipper is if it requires a lot of pressure to clip the nail.
If you have to claw off your nail end, then you definitely could use a new nail clipper.
Nail File
After you clip your nails, there will be some random points and edges that are unsightly. The best way to fix these is with a nail file.
A nail file is used to easily shape the nails. Depending on the shape of the nail you want, you’ll need to use both your clipper and file strategically. For example, if you want a pointed nail, but trim your nails across, then you’ll have to wait until your nails grow out again to get that shape. Or apply acrylics in that shape.
Nail files are defined by their grit. The higher the grit, the finer the file, and the smaller the sanding grits. If you have natural nails, you’ll want a very soft, high grit nail file.
These are usually made from a sandpaper-like material. False nails can be dealt with a bit more loosely. With false nails, you can use a high grit file like a 100-220 grit count. These files are sometimes made from metal as they can more easily shape the tough false nail materials.
Callus Remover
Calluses happen. They are a natural way for the body to protect the skin from harsh exercise, blisters, or the many hours spent on the feet.
However, most people find calluses to be painful, unsightly, and uncomfortable. Professional pedicurists have special chemical and physical callus removers that they use to quickly remove dead callused skin.
Before removing a callus, it is important to soak your feet for at least ten minutes. This will get the skin nice and soft. Usually, the combination of a chemical and physical callus remover is used.
The chemical solution usually has a high concentration of salicylic acid, about 17%, which makes the dead skin cells stick together and easily fall off.

Foot File
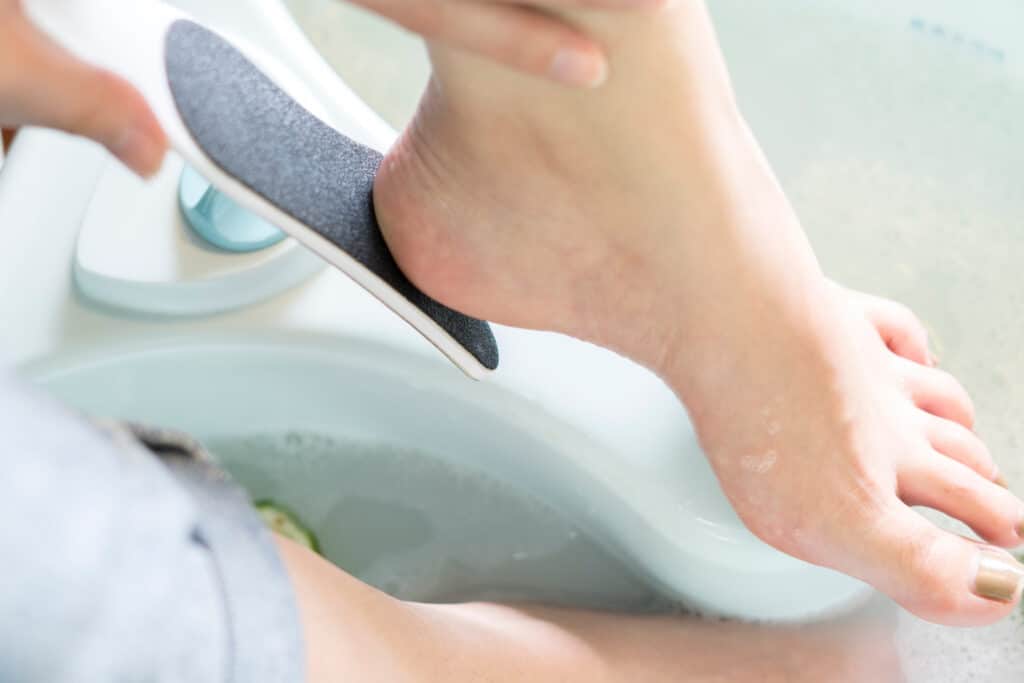
The next step would be to use a physical callus remover, also referred to as a foot file. With a foot file, the callus should scrape right off painlessly.
Never use a foot file on dry feet, as you run the risk of injury and bleeding. With wet skin, the dead skin piles on the surface and is easily scraped away to reveal smooth skin underneath.
Foot files usually have two sides. A metal side with wide teeth, and a smooth buffing side. Use the metal side first, then buff areas like the big toe and the heel with the buffing side.
Pumice Stone
A pumice stone is another preparation tool used to exfoliate the feet before a pedicure. It can also be used between pedicures to keep dry and callused skin at bay.
A pumice stone is made from a mix of lava and water. The result is a light and airy exfoliation tool, that is still powerful. Pumice stones may be used daily.
Don’t overdo it though, as over-exfoliation can damage the skin and increase the risk of infection. Always make sure your pumice stone is wet when used, never use it dry. Over time, your pumice stone becomes soft and ineffective; make sure to replace it at that point.
Cotton Balls
Cotton balls are a beauty staple, especially when it comes to pedicures. Be mindful of how many cotton balls you use though, as they are wasteful to the environment.
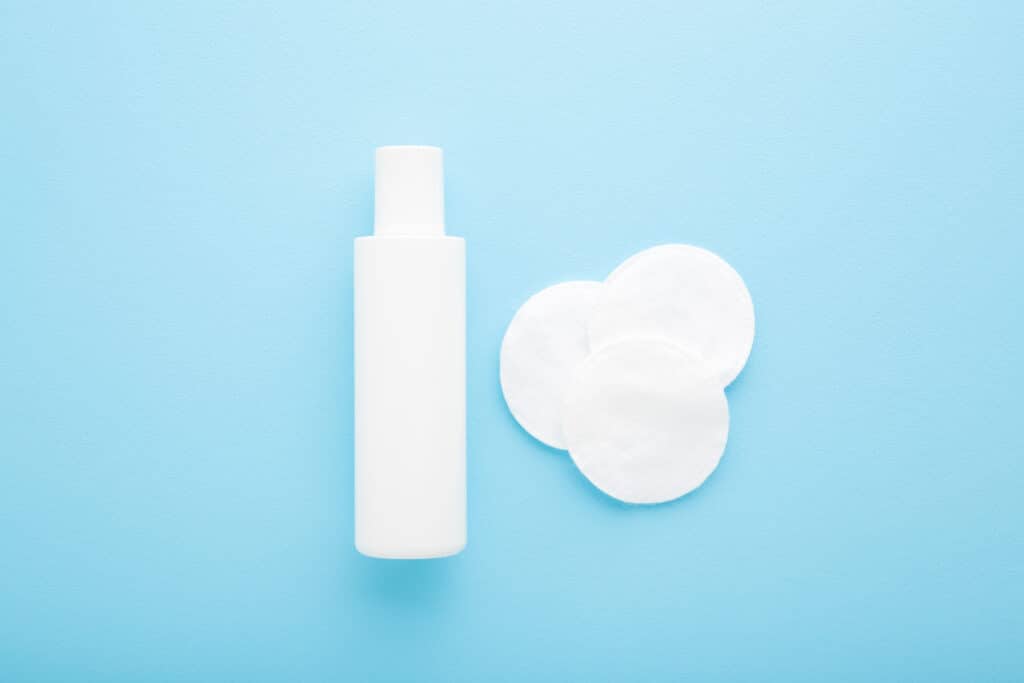
Cotton balls can be used during prep, to remove old nail polish and oils from the toenails. Removing oils from the toenails, before applying a basecoat helps your pedicure last much longer.
You can also use cotton balls or even Q-tips to clean up the edges of the skin that got polished during the painting process.

Foot Bathtub
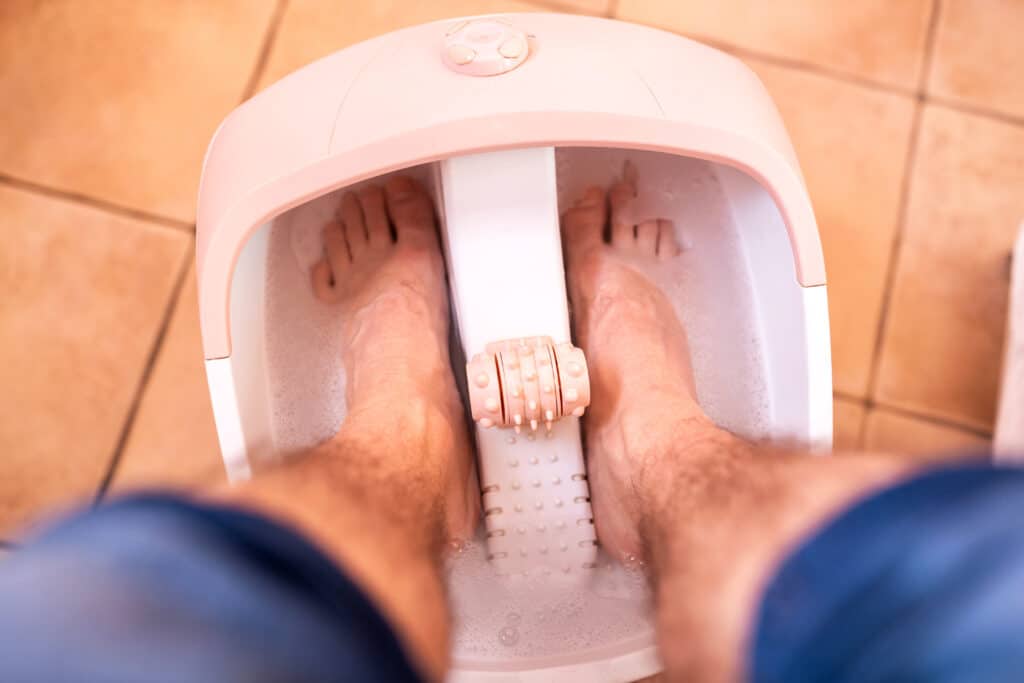
A foot bathtub or foot spa is what makes the entire pedicure experience. It doesn’t have to be super fancy- although there are some quite extravagant foot spas out there with bubbles, temperature control, and massagers built in. A foot spa is a one-time investment, so make sure to pick one that is comfortable and well built.
The foot spa should also have a chair that aligns well with it, so your feet may comfortably soak during the treatment.
A foot spa is important since it requires significantly less water and concentrates the solution on your feet with small dimensions. It also enables you to do your pedicure from anywhere.
Spa Solution
Your spa solution is the liquid in which your feet will rest during your pedicure. Sometimes this is just water, but usually, it’s a mix of water with exfoliants, salts, and moisturizers.
Exfoliants may facilitate the dead skin removal process. These can include papaya extract or other exfoliants. Salts are useful to help relieve muscle pain and inflammation.
Moisturizers help keep the feet supple during treatment. Spa solution is usually a lukewarm temperature to increase its absorption through the skin.
Tweezers
Tweezers are a useful tool, especially in the “clean up” process post-pedicure. Tweezers are especially helpful for hairy toes. They can be used to pluck any individual hairs or clean up residue that was left behind from the pedicure.
Tweezers should never be used to scrape off nail polish as this can damage the skin.
Cuticle Scraper
Your cuticles can be dry or flakey if they are not protected during a pedicure. Some people have soft cuticles and others have tough cuticles.
If you have soft cuticles, a wooden cuticle scrapper is used to gently push back the cuticles so they are not coated over.
If you have hard cuticles, a metal scrapper will be more effective, but still used with gentle pressure. It’s best to push back cuticles when the feet are wet, as the skin will be softer and more pliable.
Cuticle Nipper
A cuticle nipper is a special tool designed to address hangnails. Hangnails are those little bits of loose skin that pop up in the crevices of your nail.
The tool’s shape has a beak that makes it easy to navigate into those tight corners and snip off any painful dead skin. It’s also a great tool to trim off those painful and annoying ingrown nails, although if those are extreme, you’ll want to consult a professional physician to deal with them.
Nail Polish Remover
Nail polish remover is an essential part of any pedicurist’s toolkit. It is used before painting to clean up any oils from the nail. It can also be used to remove old chipped polish.
You can also use nail polish remover with a Q-tip to touch up areas around the nail and remove any residue.
Certain nail polish removers can be harsh on nails, especially if you change your nail color frequently. If this is the case make sure to find a gentle nail polish remover with hydrating ingredients.

Nail Brush
A nail brush is what is used to apply the polish. Most nail polishes come with nail brushes, but these are usually cheap and don’t take out the right amount of polish per coat.
You can find high-quality professional nail brushes that serve different purposes. Some nail brushes are designed for the big toe.
Others are thinner and better for little toes. If you do nail art or French tips, there are also special nail brushes and nail tape that can be used to achieve these effects artistically.
Toe Separator
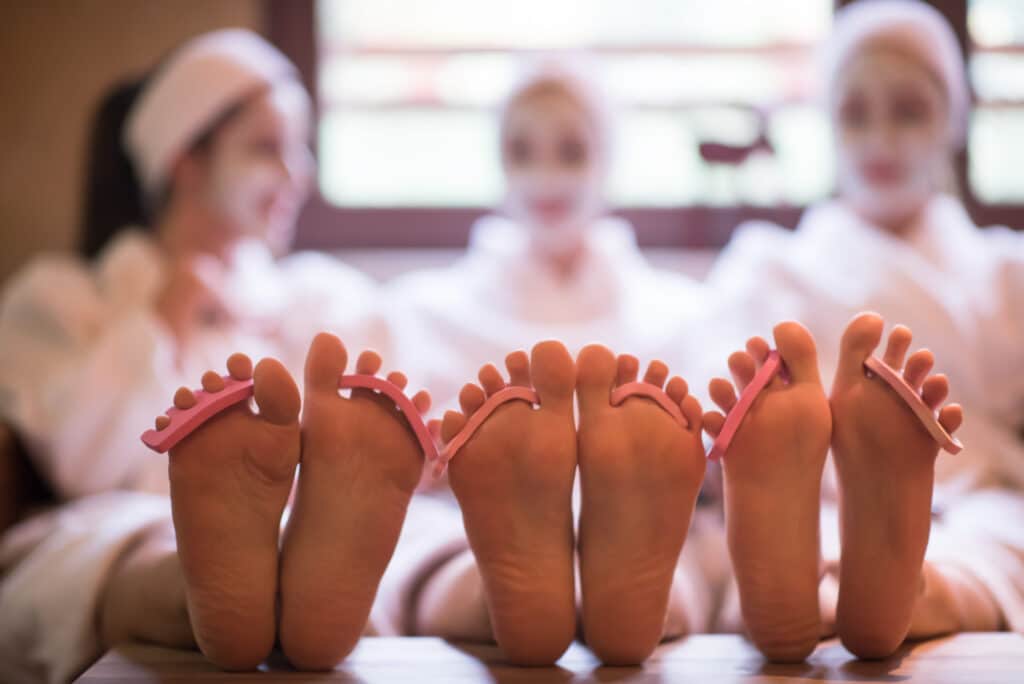
These little foam inserts prevent polish from smudging when it is still wet. They also give the toes a nice little stretch which keeps them healthy.
Don’t overlook a toe separator—you don’t want all of your hard work to go to waste!
Base Coat
A base coat is a special kind of polish that goes on prior to applying any nail colors. The base coat acts like double-sided tape. It secures to your nail well, and also helps your subsequent layers of polish stay put. A base coat can also help nail polish go on more smoothly, which creates a more even-looking nail.
Colored Polish
Here comes the fun part, color! There are hundreds of brands, thousands of colors, and dozens of consistencies to try when it comes to nail polish.
There are also non-toxic options that offer safer alternatives so you don’t breathe in any nasty polish fumes. If you don’t use polish, you’ll have to look for a good set of nails, usually acrylic, and nail glue.
Instead of polishing the nails, you will shape the acrylics to the nail bed and then adhere them with the glue. You can also buy bare acrylics and paint them the desired color.

Top Coat
If you do paint your nails, you’ll finish them with a top coat. The top coat acts as a sealant that further protects against chipping. Like the base coat, it is recommended that this step is not skipped.
Foot Mask
Make sure to let your paint dry completely before using a foot mask. Foot masks are usually sold in a cream or sheet form. The cream form can get a little messy.
You apply a clay-infused mask and it removes any dead skin or impurities from your feet. This mask is best used for upkeep and not directly following a pedicure.
A sheet mask can be exfoliating or moisturizing. The exfoliating type will temporarily give you “lizard” skin as all your dead skin peels off. The moisturizing type is best used succeeding a pedicure as it re-moisturizes your feet after all of the buffing.
Moisturizer
You can double up the hydration with a cream moisturizer. Look for a foot-specific moisturizer as these have special ingredients to prevent calluses and ease soreness.
Foot Massager
An optional, but highly recommended tool is a foot massager. These can be manual or automatic. Taking a few minutes every pedicure to massage your feet is great for your overall health and melts away tension!

Get These Essential Pedicure Tools for Fancy Feet
These 20 pedicure tools are an essential starter kit for the perfect pedicure every time. It might seem excessive, but your feet take on a lot of weight in their lifetime (literally)! So they naturally, require a bit more upkeep to stay and feel fresh.
If you want to up your salon experience even further, make sure to consider spa scheduling software for your salon. Whether you run a growing home business or a full-blown brick-and-mortar, a cloud-based application can take your spa to the next level. Start your free trial today!
